Mastering TinyMCE: The Ultimate Guide to Rich Text Editing
Author: Wally
Published on
Jul 26, 2024
If you're looking for a powerful and flexible WYSIWYG (What You See Is What You Get) editor, TinyMCE is one of the best options available. In this guide, we'll explore how to set up and use TinyMCE to enhance your web applications with rich text editing capabilities.

What is TinyMCE?
TinyMCE is a feature-rich, open-source JavaScript library that allows developers to integrate a rich text editor into their web applications. It provides a user-friendly interface for creating and editing content, making it an excellent choice for blogs, content management systems, and any application that requires text editing.
Getting Started with TinyMCE
To start using TinyMCE, you first need to include the TinyMCE library in your project. You can either download it from the official website or use a CDN to load it directly into your HTML file.
You will need to replace {unique-token} with a unique token provided by TinyMCE after your registration.
<!-- Include TinyMCE from CDN -->
<script src="https://cdn.tiny.cloud/1/{unique-token}/tinymce/7/tinymce.min.js" referrerpolicy="origin"></script>
Initializing TinyMCE
After including the TinyMCE script, you need to initialize it on your desired text area. Here’s a basic example:
<!-- Place the following <script> and <textarea> tags your HTML's <body> -->
<script>
tinymce.init({
selector: 'textarea',
plugins: 'anchor autolink charmap codesample emoticons image link lists media searchreplace table visualblocks wordcount checklist mediaembed casechange export formatpainter pageembed linkchecker a11ychecker tinymcespellchecker permanentpen powerpaste advtable advcode editimage advtemplate ai mentions tinycomments tableofcontents footnotes mergetags autocorrect typography inlinecss markdown',
toolbar: 'undo redo | blocks fontfamily fontsize | bold italic underline strikethrough | link image media table mergetags | addcomment showcomments | spellcheckdialog a11ycheck typography | align lineheight | checklist numlist bullist indent outdent | emoticons charmap | removeformat',
tinycomments_mode: 'embedded',
tinycomments_author: 'Author name',
mergetags_list: [
{ value: 'First.Name', title: 'First Name' },
{ value: 'Email', title: 'Email' },
],
ai_request: (request, respondWith) => respondWith.string(() => Promise.reject("See docs to implement AI Assistant")),
});
</script>
<textarea>
Welcome to TinyMCE!
</textarea>
In this example, TinyMCE will replace the text area with a rich text editor. You can customize the editor by adding various configuration options.
Customizing TinyMCE
TinyMCE is highly customizable, allowing you to add or remove plugins, change the toolbar, and configure various options. Here’s an example of a more customized TinyMCE initialization:
<script>
tinymce.init({
skin:'fabric'
selector: 'textarea',
plugins: 'anchor autolink charmap codesample emoticons image link lists media searchreplace table visualblocks wordcount checklist mediaembed casechange export formatpainter pageembed linkchecker a11ychecker tinymcespellchecker permanentpen powerpaste advtable advcode editimage advtemplate ai mentions tinycomments tableofcontents footnotes mergetags autocorrect typography inlinecss markdown',
toolbar: 'undo redo | blocks fontfamily fontsize | bold italic underline strikethrough | link image media table mergetags | addcomment showcomments | spellcheckdialog a11ycheck typography | align lineheight | checklist numlist bullist indent outdent | emoticons charmap | removeformat',
tinycomments_mode: 'embedded',
tinycomments_author: 'Author name',
mergetags_list: [
{ value: 'First.Name', title: 'First Name' },
{ value: 'Email', title: 'Email' },
],
ai_request: (request, respondWith) => respondWith.string(() => Promise.reject("See docs to implement AI Assistant")),
});
</script>
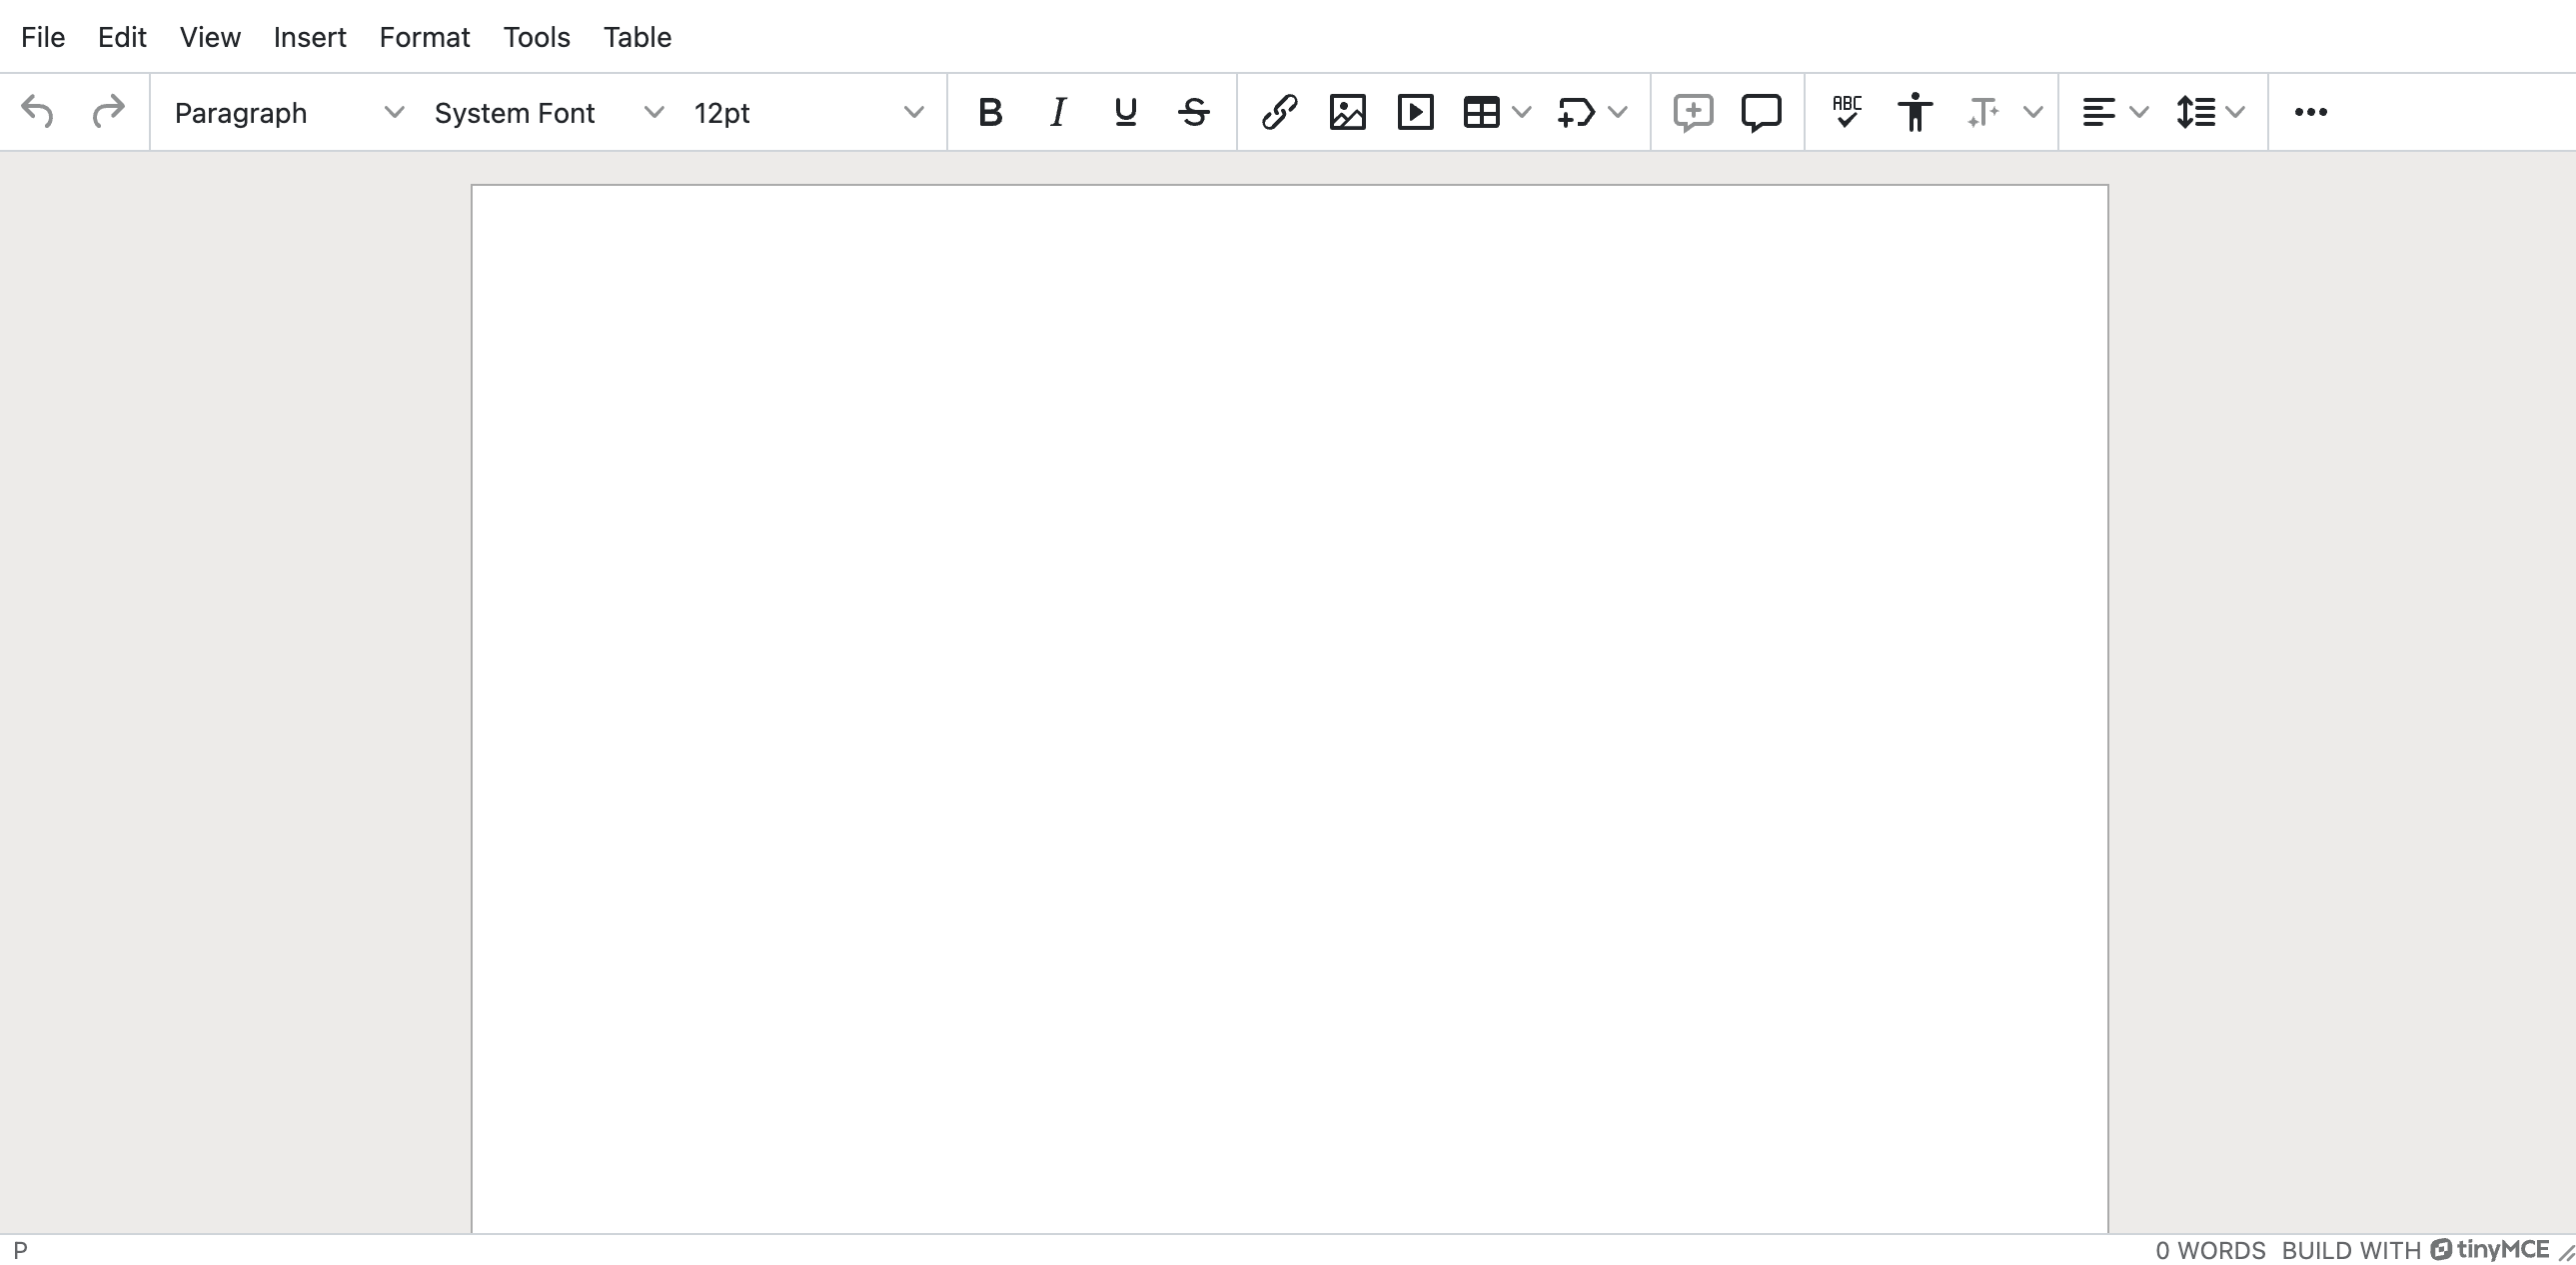
This configuration adds skin to the editor which changes the look of the TinyMCE text area.
Below is how it looks

Handling Form Submission
When using TinyMCE in a form, the editor’s content will be automatically included in the form submission. Here’s an example of how to handle form submission with TinyMCE:
<!-- HTML Form -->
<form action="/submit" method="post">
<textarea name="content">Hello, World!</textarea>
<button type="submit">Submit</button>
</form>
When the form is submitted, the content of the TinyMCE editor will be included in the "content" field of the form data.
Conclusion
TinyMCE is a powerful and versatile tool for adding rich text editing capabilities to your web applications. With its extensive customization options and easy integration, you can quickly enhance your project with a user-friendly text editor. Whether you’re building a blog, a CMS, or any application that requires text editing, TinyMCE is a great choice.
Happy editing!
Back to Blogs

